If you’re going to manage local SEO for more than one location, you have to start with a rock-solid, consistent foundation. This means doing a full audit of your current online presence, getting all your Google Business Profiles under one roof, and standardizing your critical business info—Name, Address, and Phone number—everywhere it appears online. Getting this right from the jump is the only way to avoid messy duplicate listings and give every single branch a fighting chance to succeed.
Building Your Multi-Location SEO Foundation
Trying to scale your local SEO across a few dozen—or even a few hundred—locations can feel completely overwhelming. The secret isn't to treat each location like its own separate project. Instead, you need to build a centralized, repeatable system from the ground up. This first phase is all about creating a single source of truth for your brand's physical footprint, making sure customers and search engines see the exact same accurate information, no matter where they look.
Skip this step, and you're just asking for a messy digital footprint. Inconsistent business hours, wrong phone numbers, or even slight variations in your business name can confuse Google, split your SEO authority between listings, and send would-be customers straight to your competition.
Before we dive into the nitty-gritty, let's look at the core components of a scalable strategy. Think of these as the pillars holding up your entire multi-location effort.
Key Pillars of a Multi-Location SEO Strategy
| Pillar | Objective | Key Action |
|---|---|---|
| NAP & Citations | Establish trust with search engines through consistent business information. | Standardize Name, Address, and Phone data across all directories and listings. |
| Google Business Profile | Centralize management and optimize profiles for maximum local visibility. | Use a bulk management tool to update info, post content, and respond to Q&As. |
| Location Pages | Create unique, locally relevant content for each physical branch. | Build individual pages on your website for each location with specific details. |
| Review Management | Build social proof and improve local rankings through customer feedback. | Implement a system to actively request and respond to reviews for all locations. |
| Local Content & Social | Engage local communities and send positive ranking signals. | Create content featuring local events or landmarks; manage social profiles centrally. |
| Technical & Reporting | Ensure your site is technically sound and measure what matters. | Implement local business schema and track rankings and traffic for each location. |
Getting these pillars right creates a system that not only works but can also scale as you add more locations, without causing you massive headaches down the road.
The Bedrock of Consistency: NAP Data
The absolute foundation of local SEO for any business with multiple locations is accurate and consistent NAP (Name, Address, Phone number) information. It’s no surprise that 75% of businesses report that local SEO brings in more leads than any other marketing channel. A huge piece of that success comes down to clean NAP data, which is how search engines learn to trust and rank each of your locations properly.
Inconsistent NAP is one of the fastest ways to get penalized or just disappear from local search results. To make sure you’ve got all your bases covered, it's a good idea to follow an ultimate local SEO checklist that’s built for this kind of optimization. It’ll help you sidestep common mistakes right from the start.
Centralizing Your Digital Command Center
Imagine trying to log in and out of dozens of separate Google Business Profiles and social media accounts just to post one update. It’s a recipe for burnout and, even worse, inconsistency. The only sane way to do this is with a centralized platform that acts as your command center. This turns a ridiculously complex task into a manageable workflow.
Here’s why a unified tool isn't just a "nice-to-have"—it's essential:
- Bulk Management: You can schedule posts, business updates, and special offers across all your Google Business Profiles and social media accounts (like Facebook, Instagram, and X) from a single dashboard.
- Brand Consistency: It guarantees your messaging, promotions, and brand voice are uniform everywhere. No more rogue or off-brand content popping up from one of your locations.
- Massive Time Savings: You'll save countless hours by not having to jump between dozens of accounts just to make simple changes.
For example, a tool like OneUp is perfect for franchises or chains because it lets you connect unlimited social accounts and Google Business Profiles. You can create your content once and schedule it to go out across multiple profiles. It even has handy features like an AI assistant for writing captions and a Canva integration for designing graphics, all without ever leaving the platform.
Mastering Google Business Profile at Scale
Once your foundational NAP data is clean and centralized, the next battleground is your Google Business Profile (GBP). Managing one profile is simple enough; managing 50 or 100 feels like a logistical nightmare if you don't have a system. This is where we stop thinking of them as static business listings and start treating them as active, engaging local hubs that consistently drive traffic and phone calls.
The biggest mistake I see with multi-location local SEO isn't failing to create the profiles—it's letting them die on the vine. An inactive GBP is a massive missed opportunity. Regular updates, fresh posts, and quick Q&A responses are huge signals to Google that your business is alive, well, and relevant. This directly impacts how you show up in the local pack and on Google Maps.
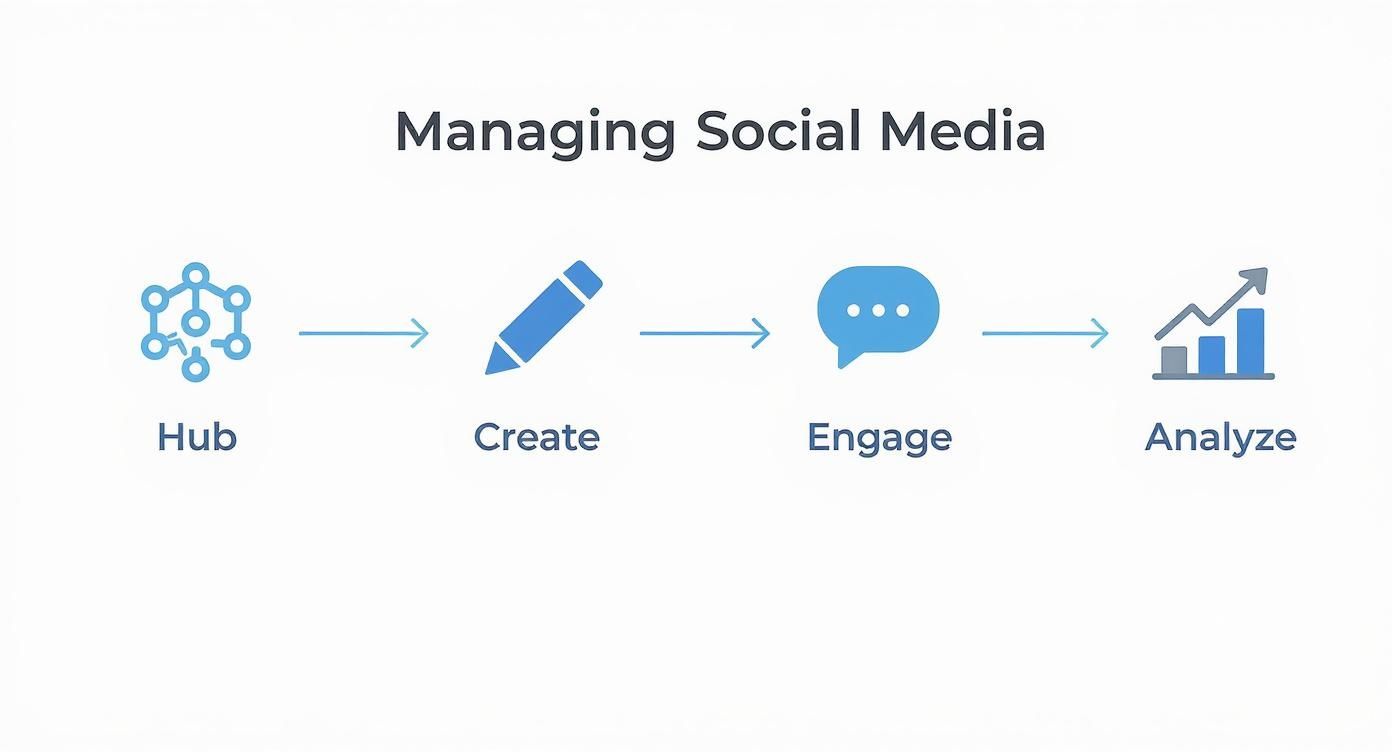
It all boils down to a straightforward workflow for building a solid local SEO foundation. You need to audit your current presence, centralize your data and profiles, and then standardize the information across every single platform.
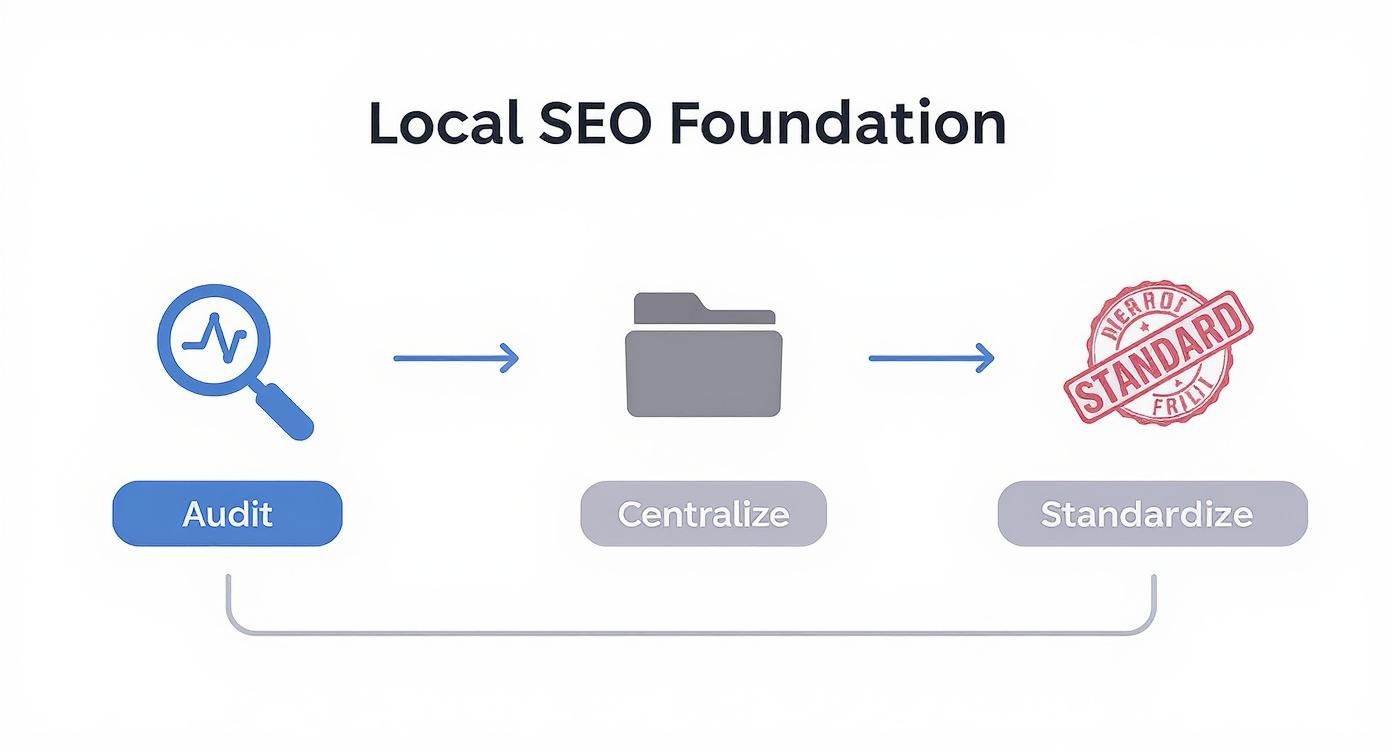
Stick to this three-step process—Audit, Centralize, Standardize—and you'll sidestep the data inconsistencies that can absolutely tank your local search rankings across all your locations.
Streamlining Content Across All Your Locations
Let's get practical. Imagine your franchise is launching a nationwide summer sale. Are you really going to log into 100 different GBP accounts to create the exact same promotional post? That would take your entire day. This is where automation tools become non-negotiable.
Platforms like OneUp let you schedule Google Business Profile posts in bulk across every location at the same time. You build the content once, and with a few clicks, it's deployed everywhere. It’s a massive time-saver and ensures your brand messaging is consistent.
But this is about more than just efficiency; it's about capturing real, ready-to-buy customers. "Near me" searches are exploding, now topping 1.5 billion every single month. And get this: 76% of people who run a local search on their phone visit a related business within 24 hours. With 46% of all Google searches now having local intent, keeping your GBP active isn't just a good idea—it's how you grab this high-intent traffic.
Advanced GBP Management with Smart Tools
Okay, basic posting is a good start, but real mastery comes from using the more advanced features to drive specific actions. For a business with multiple locations, this means tailoring content without multiplying your workload.
A tool like OneUp helps you pull this off with a few clever tactics:
- Add Direct Calls-to-Action: Don't just post an update. Add a "Book," "Order," "Shop," "Learn more," or "Sign up" button right on your GBP posts to drive immediate conversions.
- Create Category-Specific Posts: Group your locations into categories that make sense for you (e.g., "Urban Stores," "Suburban Outlets," "Mall Kiosks"). Then, you can push out tailored posts to just one group, making sure the message hits home for that specific audience.
- Automate with RSS Feeds: This is a game-changer. Connect your company blog's RSS feed, and new articles can be automatically shared as GBP posts across all your locations. It creates a steady stream of valuable content without you lifting a finger.
Key Takeaway: The goal with scaled GBP management is to make every profile feel like it's managed by a local, even when you're running everything from a central dashboard. It’s this mix of bulk actions and targeted content that gets you there.
Building an Organized and Secure Workflow
As your team grows, you can't have everyone with full admin access to all your profiles. That's just a recipe for disaster—think typos, off-brand messaging, and pure chaos. You need a structured workflow with clearly defined user roles to maintain control and quality.
OneUp solves this by letting you set specific user permissions. You can assign team members to manage only certain locations or, better yet, give them "post-only" access. This means a manager has to approve their content before it goes live. It’s the perfect setup for franchises where local managers create community-specific content, but corporate needs to keep final brand oversight.
For a deeper look into maximizing each profile, you should learn how to optimize your Google Business Profile for local wins. It's packed with great tips that work perfectly with a scaled management strategy.
And if you ever hit a creative wall, leaning on a specialized tool can be a huge help. Check out how a GMB post generator can help you create engaging, optimized content in a fraction of the time. This flips your GBP management from a time-sucking chore into a powerful, scalable engine for local growth.
Creating Local Landing Pages That Actually Convert
Think of your Google Business Profiles as digital doorways. They get people’s attention. But it's your website's location pages that seal the deal. For any business with more than one location, these pages are your most valuable digital real estate.
Slapping a name, address, and phone number (NAP) on a page is table stakes. The real win is creating a unique, high-converting resource that speaks directly to each community you're in.
This means ditching the generic corporate template. A customer landing on your "Denver" page should immediately feel like they're dealing with a local business, not just a faceless cog in a national machine. That's how you win over both Google and real people.
Building the Core Structure for Each Page
First things first: consistency. You need a solid, repeatable template for all your location pages. This ensures every page has the essential info Google and users expect, and it makes your life a heck of a lot easier when you expand to new locations.
Every single location landing page should have these non-negotiables:
- A Unique URL Structure: Keep it clean and logical, like
yourwebsite.com/locations/city-name. This helps everyone—users and search engines—know what the page is about at a glance. - Location-Specific Title Tag & Meta Description: Tweak these with the city and state. It’s a small detail that can seriously boost your click-through rates from local search results.
- Prominent NAP Information: Your full Name, Address, and Phone Number should be right there, clear as day, preferably near the top of the page.
- An Embedded Google Map: An interactive map with your pin dropped in the right spot gives people immediate context. No one wants to hunt for directions.
This is the skeleton. Now, let’s add the stuff that brings it to life.
Injecting Hyperlocal Flavor and Trust Signals
This is where the magic happens. It’s how you separate your locations from each other and, more importantly, from your competitors. Hyperlocal content is your proof to Google and to potential customers that you're actually part of the community.
Try weaving these powerful elements into each page:
- Photos of the Actual Location: Get high-quality shots of your storefront, the inside, and the team that works there. Stock photos are a dead giveaway for "corporate and detached." Real photos build instant trust.
- Local Testimonials and Reviews: Pull glowing reviews from customers in that specific area. A review from "Jane D. in Austin" means a whole lot more on your Austin page than a generic one.
- Directions from Local Landmarks: Don't just rely on GPS. Add a human touch. "We're just two blocks east of the historic Paramount Theatre" shows you actually know the neighborhood.
- Location-Specific Promotions or Events: Are you running a sale just for that store? Sponsoring a local little league team? Shout it out. It shows you’re invested.
Pro Tip: Resist the urge to copy and paste service descriptions across all your pages. I've seen it tank rankings. Even if the service is identical, rephrase the content. Tie it to local needs or share a customer story from that area. This helps you dodge duplicate content penalties and makes the page far more relevant.
Technical SEO Essentials for Location Pages
A great-looking page is useless if search engines can't figure out what it's about. This is where you need to get a little technical. Specifically, we're talking about structured data.
LocalBusiness schema markup is a snippet of code you add to your page’s HTML. It’s like creating a perfectly organized label for search engines, telling them your exact address, hours, and phone number in a language they understand perfectly. This massively increases your odds of showing up in rich results, like the all-important Google Map Pack.
When you roll this out correctly across dozens or hundreds of pages, Google starts seeing each location as its own distinct entity. This boosts each one's individual ranking potential. It’s a small technical step with a huge payoff for your local visibility. You're basically spoon-feeding Google the info it needs to rank you for those critical "near me" searches—an absolutely essential practice for any local SEO for multiple locations playbook.
Scaling Your Citation and Review Strategy
Once your location pages are dialed in, it's time to build trust and authority off-site. For local SEO, this comes down to a powerful one-two punch: consistent online listings (citations) and a stellar reputation built on customer reviews.
Let's walk through how to manage both of these at scale, making sure your brand is not just visible, but also trusted in every single community you're in.

Achieving Ironclad NAP Consistency
A "citation" is just any online mention of your business's Name, Address, and Phone number (NAP). Google is constantly crawling the web, looking at these listings on major sites like Yelp and Bing Places, but also on smaller, industry-specific directories.
When Google sees the exact same information everywhere, it confirms what you've put in your Google Business Profile. This gives Google more confidence in your business, which directly helps your local rankings.
Even tiny differences—like using "St." on one site and "Street" on another—can muddy the waters and hurt your SEO. The goal is to lock in one official version of your NAP for each location and push it out everywhere, meticulously.
For a business with just a handful of locations, this is a headache. For a multi-location brand, doing it manually is straight-up impossible. This is where citation management platforms are a must-have. They let you find, fix, and build new citations from a single dashboard.
The Engine of Local Trust: Customer Reviews
Customer reviews are no longer a "nice-to-have" in local SEO; they're a massive ranking factor. And for multi-location brands, the stakes are even higher.
Consider this: 91% of consumers now trust online reviews as much as a recommendation from a friend. Even more telling for brands like yours, another 91% of consumers say that reviews for one specific location influence how they see the entire brand. That means a few bad reviews at a single branch can tarnish your whole company's reputation. Dig into more of these numbers in these fascinating local SEO statistics if you're curious.
A consistent flow of new, positive reviews sends one of the strongest possible signals to Google. But wrangling feedback across dozens or hundreds of profiles requires a real system.
Key Takeaway: The aim isn't just to get reviews. It's to build a scalable feedback loop where you're actively asking for feedback, responding to everyone, and using what you learn to make each location better.
Creating a Scalable Review Management Workflow
This is where things can get chaotic. Trying to manage reviews by logging into dozens of different GBP or Facebook accounts is a surefire way to miss things and leave customers hanging.
A centralized tool is a lifesaver here.
An all-in-one social inbox, like the one from OneUp, consolidates all your Google reviews and social media comments into a single feed. For multi-location businesses, this is a total game-changer.
Here’s how a platform like OneUp makes this manageable:
- Centralized Monitoring: See and reply to every Google review from one dashboard. No more logging in and out of individual GBP accounts.
- Saved Replies: Build a library of templates for common feedback. This lets your team respond in seconds while still adding a personal touch for each customer.
- Team Collaboration: Avoid awkward double-replies or, worse, ignoring a customer completely. You can see who has responded to what.
- Email Notifications: Get an alert the second a new review drops. This is huge for damage control on negative feedback and showing appreciation for positive ones.
A system like this transforms review management from a reactive chore into a streamlined, proactive strategy. When you respond promptly and professionally at every single location, you're not just boosting your local rankings. You're building a fortress of trust around your brand, one customer at a time—a cornerstone of effective local SEO for multiple locations.
Automating Social Signals and Local Content
Keeping your social media profiles and Google Business Profiles buzzing with activity does more than just catch a customer's eye—it sends some seriously powerful signals to search engines. Every update tells Google that your locations are active, open for business, and part of the local scene.
But let's be real. Manually posting across dozens or even hundreds of profiles is a one-way ticket to burnout.
The secret to a killer multi-location content strategy isn’t about grinding harder. It’s about working smarter with automation. By creating a unified content workflow, you can generate a constant drumbeat of local activity that keeps every single location on the map without completely draining your team's resources. This is where a good, centralized tool for local SEO for multiple locations becomes a total game-changer.
Unify Your Content Calendar
Picture this: one single, streamlined content calendar for every social platform and GBP listing you manage. That's what automation brings to the table. A tool like OneUp lets you hook up all your accounts—Facebook, X (formerly Twitter), Instagram, LinkedIn, Pinterest, TikTok, and yes, all your Google Business Profiles—into one central command center.
Forget logging into ten different platforms for ten different locations. You can plan, create, and schedule everything from one dashboard. It's a massive time-saver and ensures your brand voice stays consistent across the board. You can actually see your entire content plan for the month, making sure no location gets left behind.
Go Beyond Basic Scheduling
Simple scheduling is great, but real efficiency for a multi-location brand comes from the more advanced stuff. These are the features that let you scale your efforts without scaling your workload.
- Bulk Uploading: Got a whole month of content ready to go? Don't schedule posts one by one. Map out hundreds of posts in a CSV file, upload it to OneUp in a few clicks, and watch your entire content calendar populate for all your locations.
- Evergreen Content Recycling: Some content is just too good to only post once. You can set your best-performing, non-time-sensitive posts to automatically repeat at whatever interval you choose. This keeps your profiles lively with proven winners and fills content gaps with zero extra effort.
- Automated RSS Feed Posting: Hook up your company blog’s RSS feed to automatically push new articles to your social channels and GBP listings. Your blog instantly becomes a content engine, creating a steady stream of valuable posts for every location the second you hit "publish."
Expert Insight: Automation isn't about sounding like a robot. It's about freeing up your team to do the human stuff—engaging with local customers, responding to comments, and creating that truly unique, community-focused content. Let the software handle the grunt work.
The team at OneUp is constantly rolling out new features to make this even easier. OneUp's public changelog highlights recent updates like AI caption generation in multiple languages, adding alt text to images, and a Chrome extension for easier scheduling—practical features that save agencies and multi-location businesses real time.
This kind of changelog shows they're focused on practical updates, like adding new social network integrations and making the tool easier to use—things that directly help businesses managing multiple locations.
Customize Posts for Local Flavor
Automation doesn't mean "one size fits all." With OneUp, you can create a single post and then easily tweak the caption for each social network.
For example, you can write a longer, more detailed caption for LinkedIn and then switch to a punchier, hashtag-loaded version for Instagram and X.
This is especially crucial for a platform like Instagram, where the right hashtags can blow up your reach. If you need a hand finding the best tags, you can use something like OneUp's Instagram hashtag generator to find trending and relevant options.
This mix of automated efficiency and tailored messaging is what makes a multi-location social strategy truly sing.
Your Top Multi-Location SEO Questions, Answered
When you're scaling a local SEO strategy, a few tricky questions always seem to pop up. Let's tackle the big ones I hear all the time, so you can get past the roadblocks and back to growing.
How Do I Create Unique Content for Hundreds of Location Pages?
This is the million-dollar question, isn't it? The thought of writing 100 unique service pages is enough to make anyone's head spin. But you don't have to reinvent the wheel for every single one. The trick is to start with a solid template and then inject hyperlocal details that Google and your customers will love.
Instead of just swapping out the city name, focus on customizing these key areas for each page:
- Spotlight the Local Crew: Get photos and short, friendly bios of the team at that specific branch. It’s a simple move that instantly makes a location feel more personal and trustworthy than one using generic stock photos.
- Showcase Neighborhood Reviews: Don't just pull any review. Find one from a customer in that specific city or even neighborhood. A glowing review from "Jessica in West Loop" means a whole lot more on your Chicago page.
- Give Real-World Directions: An embedded map is standard, but you can do better. Add directions that reference local landmarks. Something like, "You’ll find us right next to the old movie theater on Main Street," is way more helpful and authentic.
- Talk About Community Ties: Does this location sponsor a local little league team? Did they participate in a neighborhood charity event? Highlighting this proves you're actually part of the community, not just another corporate chain.
What's the Best Way to Manage Google Business Profile Reviews for All Locations?
If you're still logging into each Google Business Profile one by one to check reviews, you have to stop. It's a massive time sink and completely unsustainable as you grow.
The only way to do this at scale is with a tool that funnels all your reviews into a single dashboard. This is where something like OneUp's social inbox becomes a lifesaver. You can see and reply to every single Google review across all your locations from one central feed. Your team can stay on top of feedback without wasting hours just logging in and out of accounts.
Pro Tip: Set up a handful of response templates for common feedback—good and bad. But always customize them. Use the customer's name and mention something specific from their review. The goal is efficiency without sacrificing the personal touch.
Should I Create Separate Social Media Accounts for Each Business Location?
Honestly, it depends. For most businesses, the answer is probably no. Managing one primary brand account and using geo-targeted posts or ads is far more efficient. It keeps your brand voice consistent and prevents your team from getting stretched too thin.
However, there's a big exception. If your individual locations have strong local managers who are deeply embedded in their communities and can consistently create genuine, on-the-ground content, then separate accounts can be a goldmine for engagement.
If you do go down that path, a tool is non-negotiable. With OneUp, for example, you can connect an unlimited number of social accounts. This lets you manage everything from a central hub, and you can even use the bulk uploader to schedule posts for all locations at once from a single CSV file. It's a game-changer for staying organized.
How Do I Track Performance and ROI Across Different Locations?
You can't just guess which locations are pulling their weight. To get a clear picture of performance, you need to blend data from a couple of key places.
Start with Google Analytics. Set up custom segments for each location's landing page traffic. This will tell you exactly how many people are visiting each page on your website.
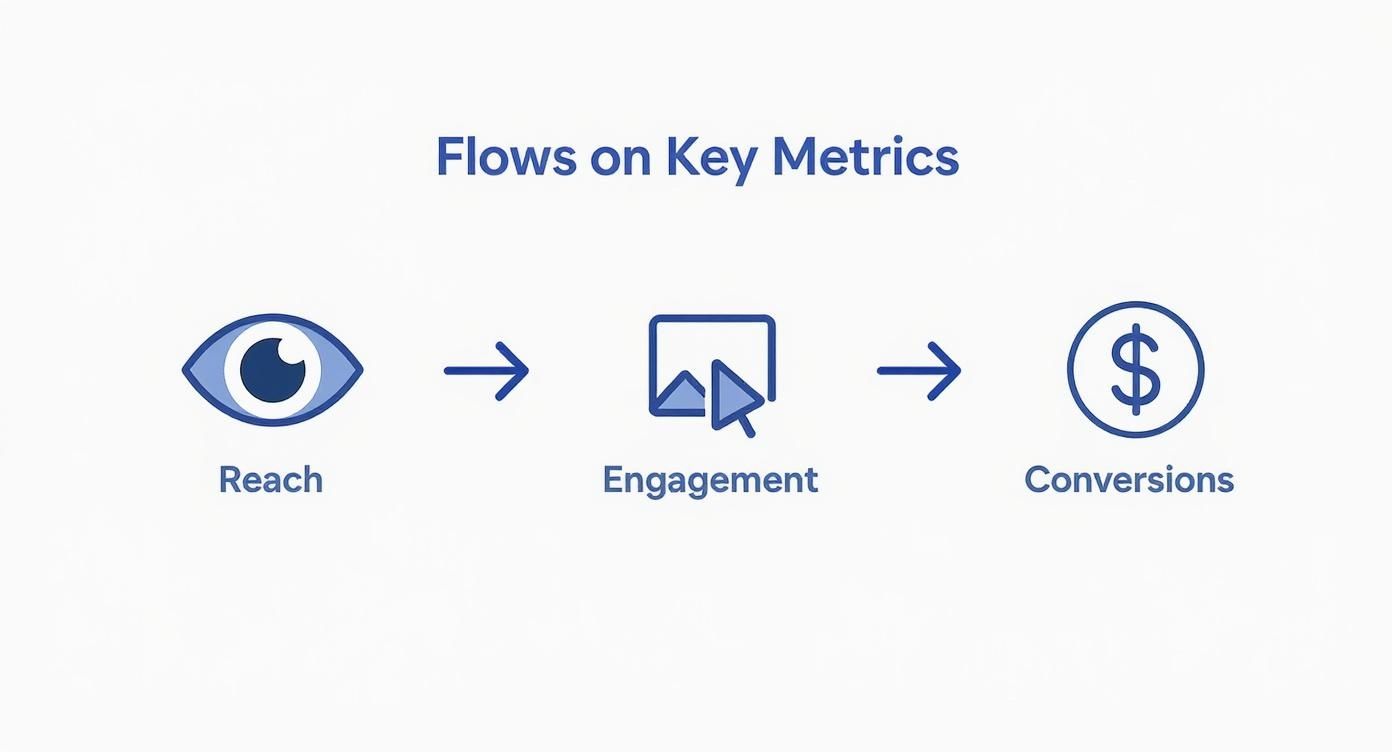
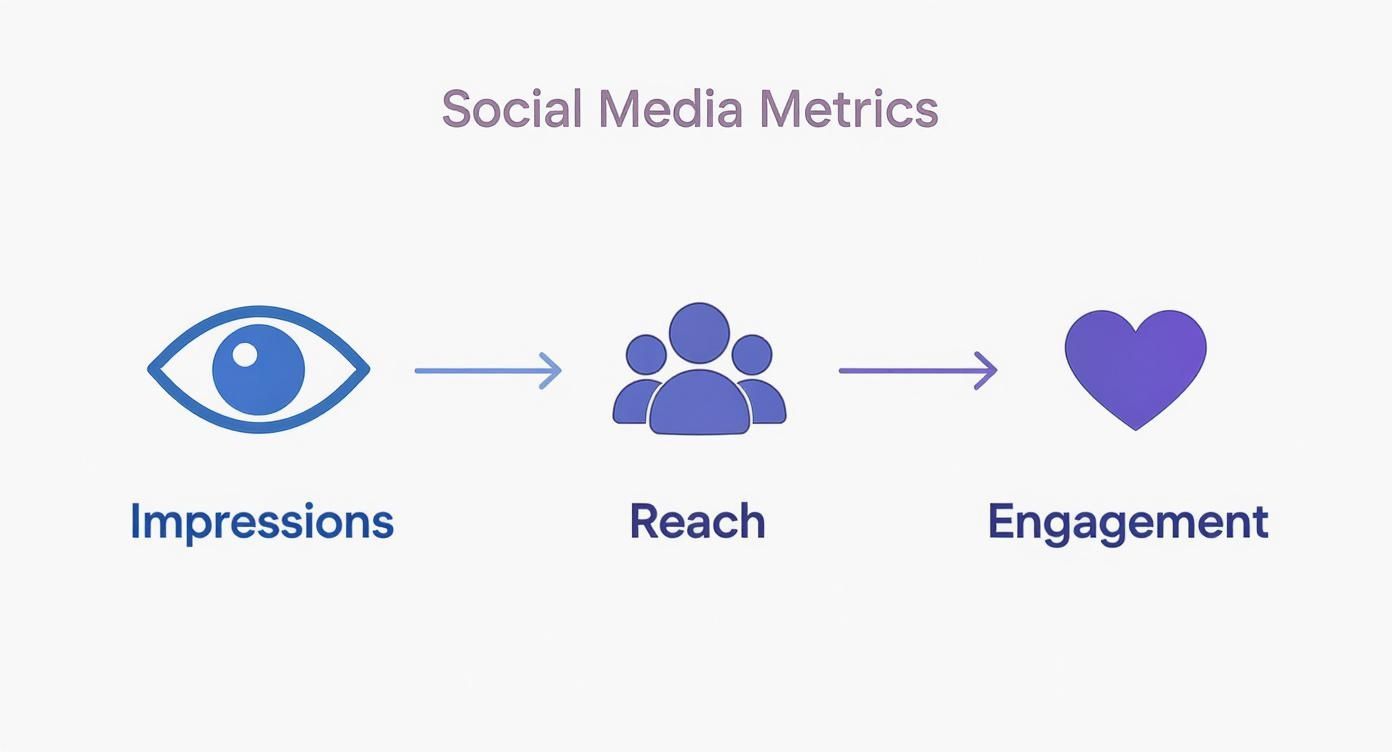
Next, you have to live inside your Google Business Profile Insights. For every location, you need to be tracking these KPIs:
- Website Clicks: How many people went from your GBP listing to your location page.
- Phone Calls: The number of calls made directly from your profile.
- Direction Requests: How many people were interested enough to get directions to your physical spot.
When you lay this data out side-by-side for all your locations, the winners and losers become obvious. You'll quickly spot your star performers and see which underperforming branches need a little more love. This is the only way to truly measure the ROI of your local SEO efforts.
Ready to stop juggling dozens of accounts and start managing your multi-location strategy from a single, powerful dashboard? With OneUp, you can schedule posts in bulk, manage all your reviews in one inbox, and track performance with ease. See how much time you can save and start your free trial of OneUp today.